



When struggling to save a HEIC image to file, learning how to convert HEIC to JPG on Google Drive can be a lifesaver.
This guide shows how to transform HEICs into the universally adored JPGs with nothing but Google Drive, Google Photos, and an arsenal of third-party app magic.
The problem is that not every device is enlightened enough to understand the complex language of HEIC. Like speaking Shakespearean English in a world of mumble rap.




This brings us to the noble quest of converting HEIC to JPG. It’s a process about making your cutting-edge, storage-efficient photos palatable to the digital masses. So that your HEIC images can be seen and stored by your non-iPhone friends (don’t let Apple know you have those).
And Google Drive is a great way to go about creating JPGs from HEICs since you don’t have to upload your photos to free converters online and risk compromising your privacy. Why Drive and not another app? Just because it already comes with a Google account – which is unofficially obligatory for accessing online services.
Let’s see how easy it actually is to create user-friendly JPGs from too-cool-for-school HEICs using nothing more than Google Drive and Google Photos.
How to Convert HEIC to JPG on Google Drive using Google Photos
- Go to your Google Photos account.
- Click the Upload photos button on the top-right corner.
- Select Google Drive.
- Find and select the HEIC file(s).
- Double-click to open the HEIC file.
- Right-click and select Save image as.
- Click Save.
Here’s a quick video guide

How to Convert HEIC to JPG on Google Drive using CloudConvert
CloudConvert is a free web app that converts a wide range of file types, including HEIC to JPG. It integrates with Google Drive, so you can easily select it from your Drive account. Follow these steps:
- Access your Google Drive account.
- Right-click the HEIC file and select Open with.
- Choose CloudConvert if it appears in the Suggested apps list. Otherwise, select Choose more apps, then search for CloudConvert.
- Sign in to CloudConvert with your Google account and follow the steps to complete the free registration.
- The HEIC file will be automatically selected for conversion. Click to open the menu next to Convert to and select JPG.
- Click Convert and wait. The JPG file will be automatically saved to your Drive account.

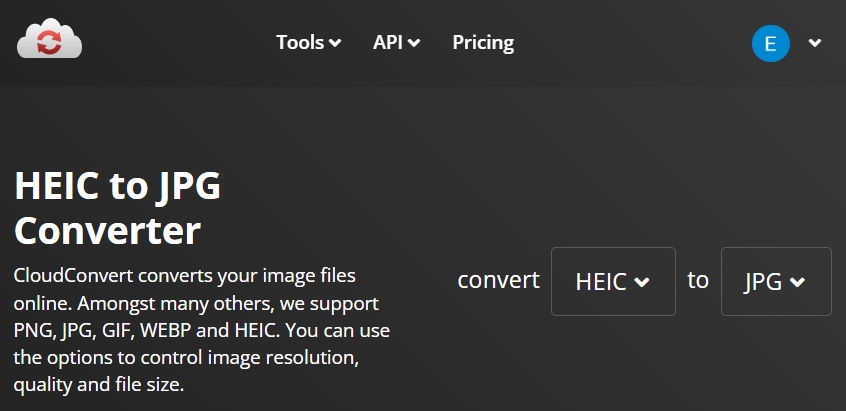
Registering for CloudConvert is necessary to easily use this web app whenever you need to convert HEIC to JPG or other unsupported file types in your Google Drive account. However, if you don’t feel comfortable sharing Google account access with this third party, skip registration and visit the CloudConvert website. The only downside is that you will have to manually download the HEIC from Drive before uploading it to CloudConvert, then uploading the resulting JPG to Drive.
Tips for Converting HEIC to JPG on Google Drive
- Batch conversion: Most software graciously allows you to batch convert your
junkpile of HEIC files, saving you from splitting headaches. Just round up those digital sheep and let the app herd them through the conversion gate in one efficient swoop. - Preserve image quality: Like walking a tightrope between quality and file size. I’ll spare you the Google search right now – it’s impossible to get high image quality with low file size. Unless you know the secret formula to having your cake and eating it too.
- Organize your files: Creating separate folders for HEIC and JPG files might just save you from digital despair, making it easier to find what you need without a search party.

- Automate the process: Certain elves like DropIt work quietly in the background to automate the conversion of new HEIC files to JPG. If your iPhone buddy typically spams your inbox with their latest adventures in god-awful HEIC format, embrace automation and never look back.
- Back up important files: Create backups of the original HEIC files before starting the conversion process. This safety net allows you to rebound gracefully should the conversion process go awry.
- Consider storage space: JPGs tend to spread out a bit more than their HEIC counterparts, taking up more room. Make sure there’s enough space in your Google Drive account or local storage, especially if you’re dealing with a crowd of high-resolution images.

Conclusion
Cracking the code on converting HEIC to JPG on Google Drive might just be the key to a smoother digital life. By pairing Drive with the right third-party tools (or not), you can transform those exclusive HEIC files into universally friendly JPGs, no magic required. For a guided tour of its less mysterious, yet equally useful features, check out my Google Drive review.